
Here's the fastest way to get Ninja AB set up for your first referencing session. We'll start from a completely fresh session - nothing loaded - and end with your references fully linked to your project, levels matched, sections tagged. Takes a couple of minutes.
First: put Ninja AB on your main / master track
Ninja AB belongs on your main / master track - after your limiter, after anything else that changes the audio. That way you're always comparing the real, final output of your track against your references.
Hit play, set start & end
Just play your project for a bit so Ninja AB can capture the audio in the
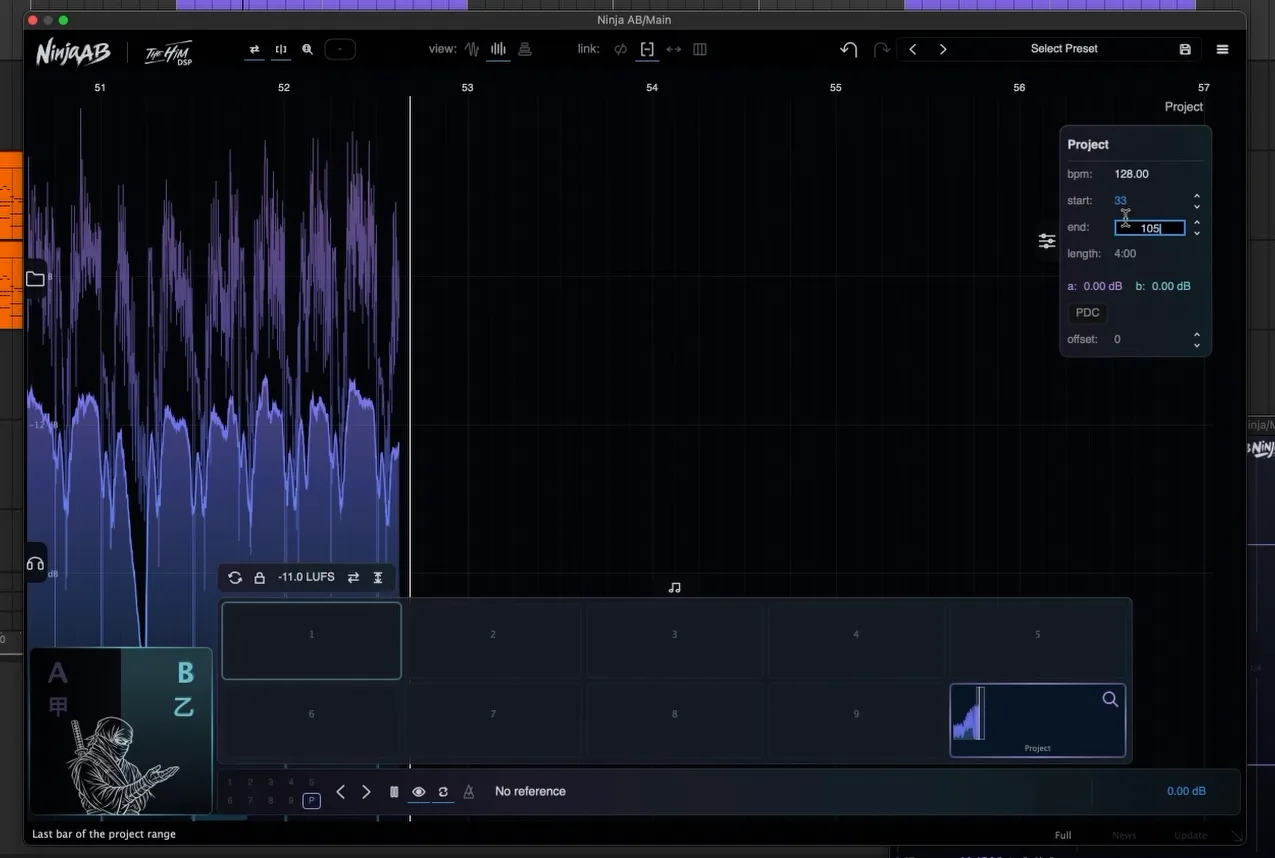
background. While that's running, set your project start and end in the
settings. This track starts at bar 33 and ends at 105, so I punch in 33
for the start and 105 for the end.
Load a reference
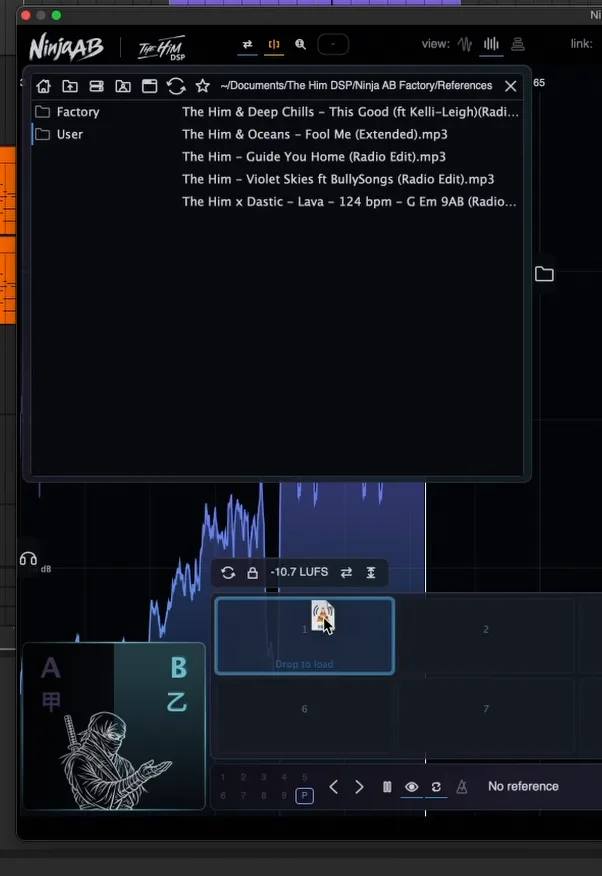
Click an empty slot, or open the browser from the tab on the left and drag a file onto an empty ref slot.
You can also drop files in straight from your DAW or your OS - wherever the track lives. Ninja AB analyses it in the background the moment it lands.
Check the BPM, fix the first beat
Select the reference and make sure it's set up right. The BPM here is auto-detected as 124 - correct. But the track doesn't actually start on the first beat, so we need to nudge the offset.

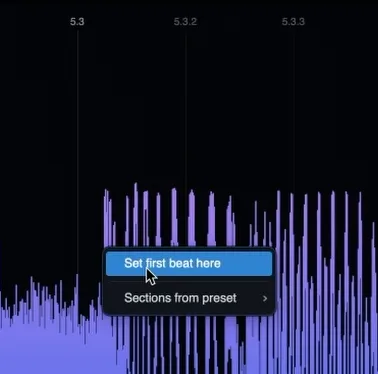
Zoom into the start and shift-click to play back and seek. Switch to the waveform view to see it more clearly, zoom in a touch more, and you can spot the first kick.
Right-click it → "Set first beat here", and the offset jumps to about 8.7 seconds. Done.
Tag one matching section
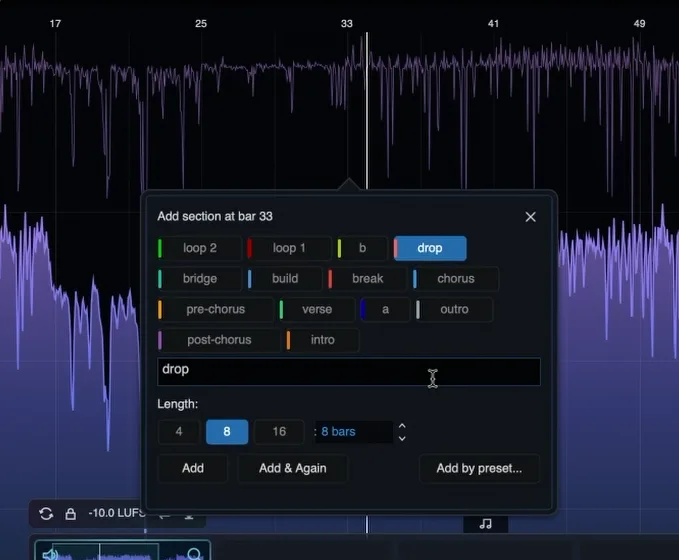
Once the BPM and start position are right, add at least one section. Here's the trick: if you have a section that exists in both the reference and your project, Ninja AB can link them up while you play.
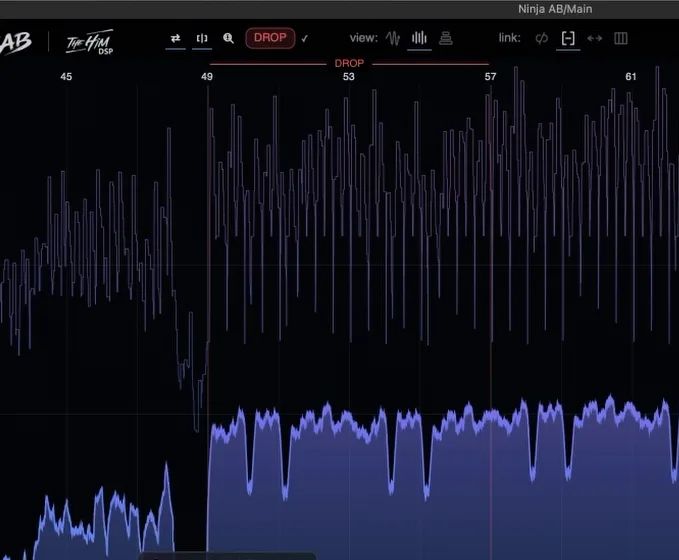
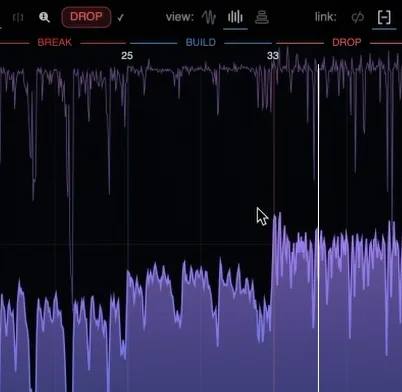
On the reference, the drop is easy to spot - it starts at bar 33. Double-click → "drop". Call it anything you like (loop 1, A, B, whatever fits your workflow) - it just has to match the name you use in your project. Then do the same on your project, where the drop starts at bar 49.
Turn on section linking
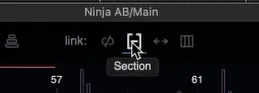
Make sure section linking is on - it's the default, up top. Now when you play back and switch between your project and the references, they're linked up and jump to the matching section.
Chorus to chorus, drop to drop - you're always hearing the same part of the song.
Match the levels
You'll usually notice a volume difference between your reference and your project - totally normal, since the reference is fully limited and your project isn't yet. Easy fix.
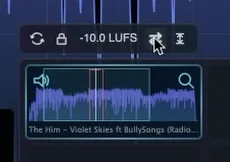
Both your project and your references have their max LUFS detected (here the project sits at −10, the reference at −5). Hit Match All - it applies a gain to each reference individually to line them up with your project. Then hit Auto dB range right after, so the visuals line up to show about 30 dB of range.
Optional: add more sections, or use a preset
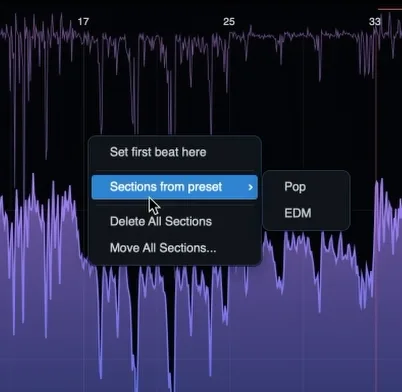
From here you can keep adding sections by hand, or peek at the presets menu to drop several in at once. This is the EDM preset - one break, one build, one drop.
And that's the whole setup
The best part: next time you load this reference, everything's preloaded - BPM, offset, sections, levels - and you're good to go. Tag a reference once and it stays tagged forever.