
Before we build one, it helps to know what a kick drum actually is. Strip away the mystique and a kick is just a sine wave pitched down from high to low - a quick drop in pitch with a fast volume decay. That's it.
It's exactly what the classic drum machines do. The Roland TR-808 kick is basically a tuned sine with a pitch envelope - that's where those long, booming sub kicks come from. The TR-909 leans punchier and clickier, with more attack up front. Same core idea, different shaping. Kick Ninja gives you that same engine, but with full control over every part of the curve - so you can recreate an 808, a 909, or something nobody's heard yet. Let's build one from scratch.
Getting started
Drag Kick Ninja onto a MIDI track. The first thing that's different from other kick synths: everything runs on a linear time scale. Where a point sits on screen is the exact moment that audio happens - and you can zoom all the way down to sample level.

Start from a sine
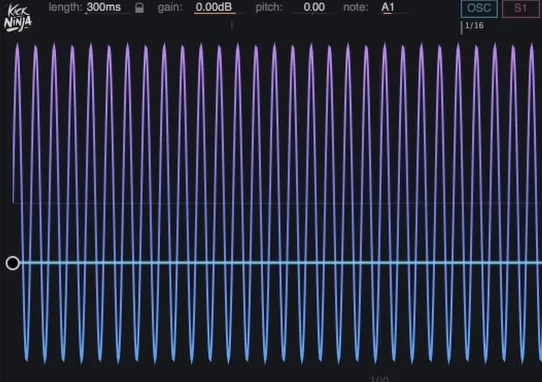
Go to the menu and choose Init preset - you get a simple sine wave.
Every one of those round knobs is a control you can either use like a normal slider, or click to turn into an envelope and start adding points.
Pitch it down
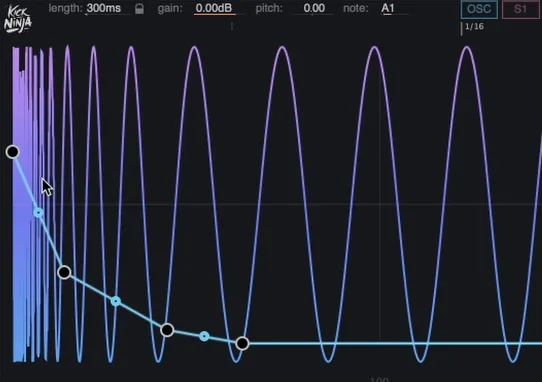
Take the pitch and draw it dropping from high to low. You can read the notes and frequencies right there, or type in exact values.
In no time you've got something that already sounds like a kick - that pitch drop is the single move that makes a kick a kick.
Shape the amp envelope
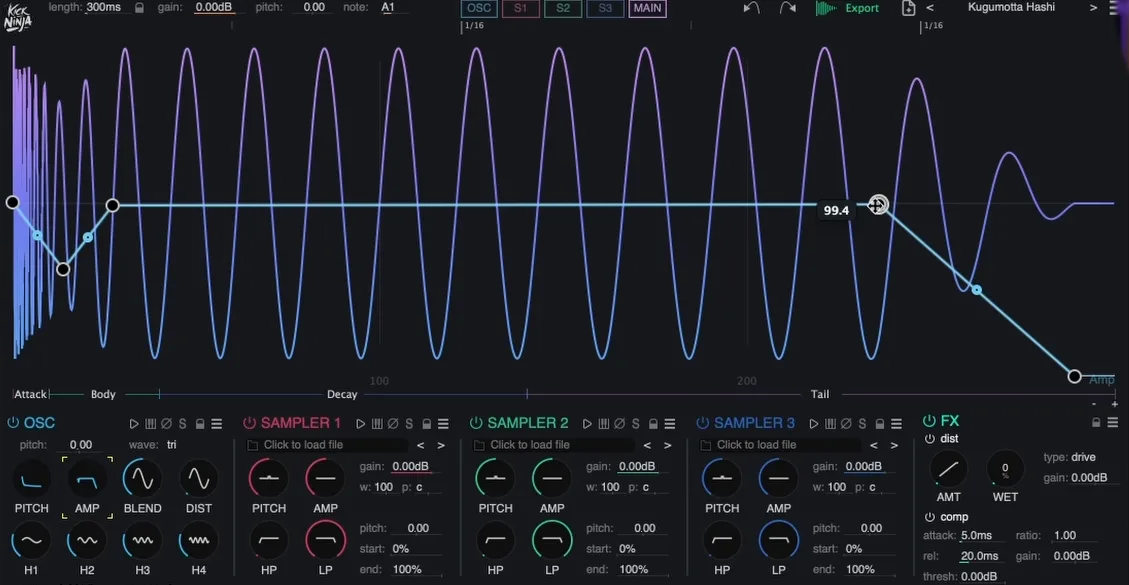
Now the amp envelope - this shapes the volume over time. A fast attack into a smooth decay is the classic kick shape you see all over the place. A cool little trick: create a brief dip right after the initial attack, simulating what a compressor would do and adding a bit of emphasis to the attack.
Shape the tone
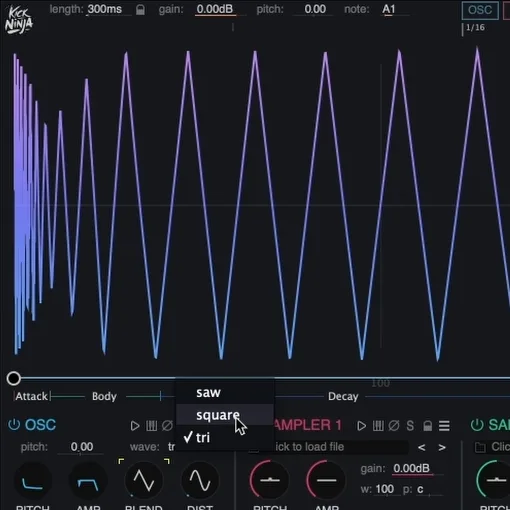
In basic mode it's just a sine, but the blend knob morphs between triangle, square, saw and a harmonic oscillator. Crank it to the harmonic oscillator and the four knobs let you dial each harmonic precisely (knob one is the fundamental). Dial them all down and you're basically back to a clean sine; bring up the third harmonic toward the end for some really sick, wavey distortion.
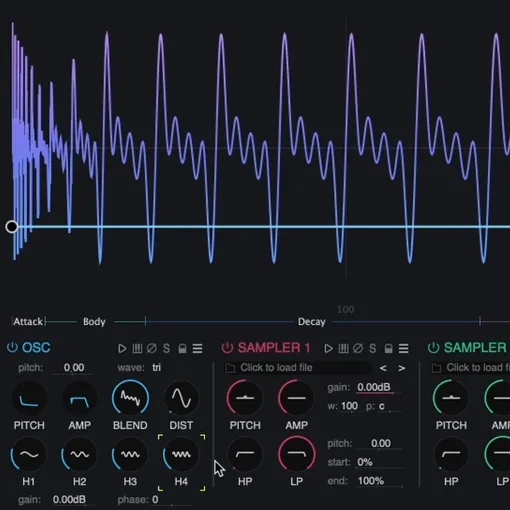
And because every envelope is rendered at sample level, you get sample-accurate automation that just isn't possible elsewhere.
Add some distortion
There's a final distortion knob that drives the whole oscillator signal. On a pure sine you can dial it up at the end for grit.
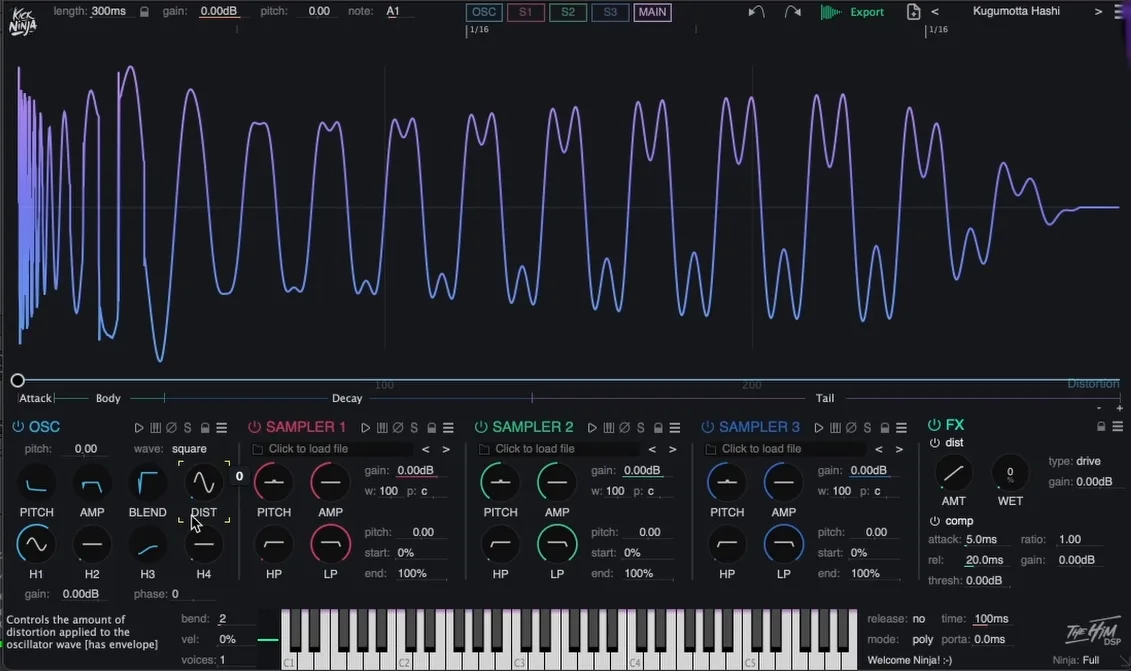
Add a brief bit of distortion to the attack of the kick. Distortion adds harmonics - high frequencies - making the start really "clicky". That click and grit on the attack is what makes a kick cut through a mix: it makes the whole kick feel much louder, and helps it on smaller speakers too.
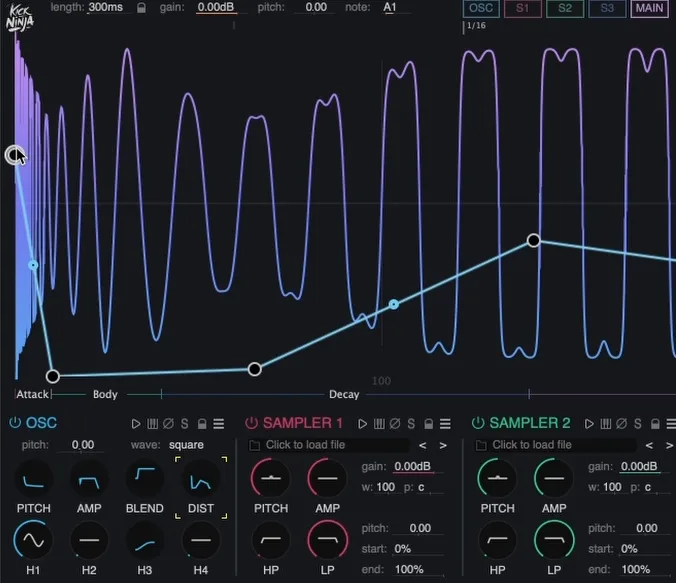
Add a sample layer
You get three sample layers, each able to pull from samples on your computer or the ones that ship with Kick Ninja. Drop in a little hi-hat, turn it down, and tuck it into the attack for an extra bit of click at the very beginning.
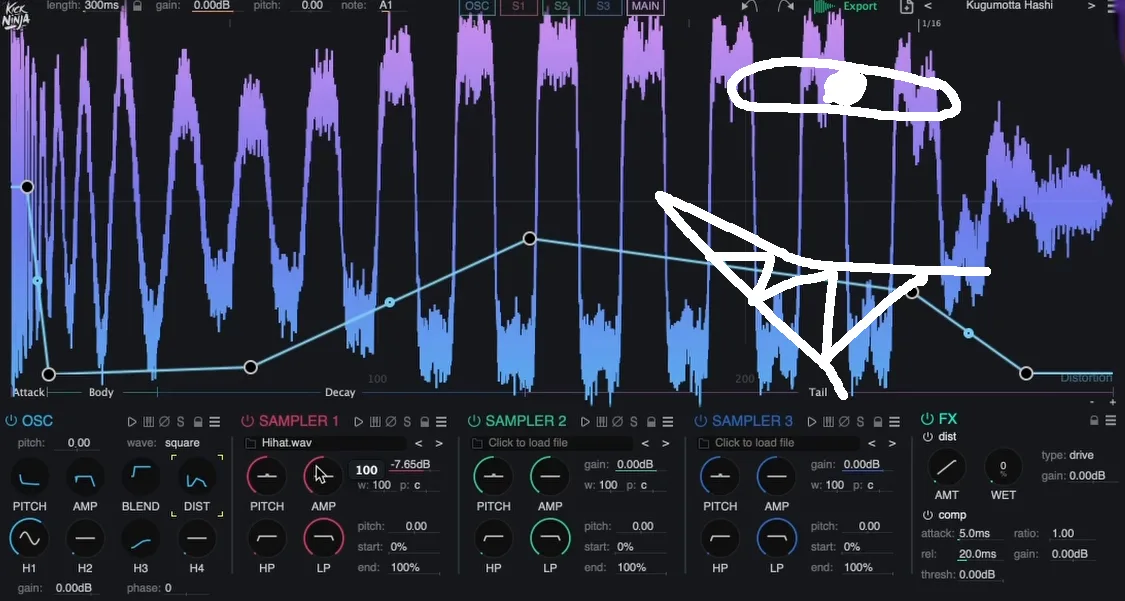
Each layer also has high / low-pass filters, pitch, panning and width - plus a pitch offset and start/stop controls, all automatable.
Per-voice effects
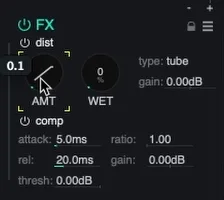
Every voice has its own effects layer. Add some distortion - tube, or foldback (kind of like tube) - turn up the wetness a touch, and you see right away what it does to the waveform.
There's also a compressor for gentle glue or wave-shaping, applied live - so you can actually see what compression is doing.
That's your first kick
That's the whole flow - sine, pitch it down, shape the amp, dial the tone and harmonics, add distortion (especially on that attack), layer in a sample, and finish with effects. Once you get a feel for which part of the curve does what, you'll be making seriously sick kicks in no time.